On the convention "Made in Asia" 2013, many asked me where to buy the Iron Man Arc Reactor I had.
Proudly telling them I made it my own.. and isn't buyable or cheap for as I know.
So I promised them to make a tutorial of how to build one of your own, for less than 15 euros!
These are pictures showing mine.

This tutorial will guide you step by step trough the required materials and building process. Off course it's possible to do it another way, but I used as much things I could find in my "big pile of junk" ;)
Enjoy!!
List of Materials
- Thermos (only the top part is needed) (bought mine in "Action" store)
- An ice-cream box (or other milky translucent plastic)
- Steel or Copper-Wire
- 10 Blue LED's
- Electrical Wiring
- 9V battery
- Photo paper
If you have these parts, the building can start!
- Take the thermos and pop-off the top, break the drinking lid out, as shown in the picture on the right.
- Cut a circle out of the ice-cream box using a dremel-tool , slightly smaller as the inner diameter of the thermos top. So it will fit inside. It needs to be smaller, because you'll need to coil wire over it and otherwise it won't fit smoothly.
Also cut a smaller circle of 1,5 cm diameter for the middle light.
- Coil the steel wire around the ring so that all open spaces are equally divided. You can do this by placing tick marks on the ring using a pencil or marker. Take your time for this, it will strongly determine the definitive look of your arc reactor!
-If you want a blurry effect instead of a concentrated light, you can sand the tops of the LED's to make them milky on top, distorting the light.
- Now Take a CD, cardboard, scrap plastic,... and cut another circle for supporting the LED's. Drill 8 holes at the same distance as you coiled the wire on the ring, about the size of the LED's. Glue them in using a hot glue gun or leave them in loose. If you don't have a hole in the center, you should also make one, minimum size of 1 LED ( I used 2 LED's in the center to ease the soldering )
- Now we need to solder the LED's to each other. I use a 9V battery so I thought this design would be the best for this power source. So we have 5 branches of 2 leds.
To do this in the circle, I made this complexly wired setup. I will guide you step by step, to avoid mistakes in the process.
Do not yet power the LED's, a resistor needs to be calculated to limit the current trough the LED's
This can be found in data sheets. I used 20mA LED's with a voltage drop of 3,2V. Every branch includes two LED's in series, so 3,2 + 3,2 = 6,4V total. The current in both LED"s in series is the same, 20mA.
We have 5 branches, which are placed parallel, so voltages are equal, 6,4V, but the currents need to be multiplied 5 times. Which gives us a total of 100mA
This results in a total voltage of 6,4V at 100mA.
If we use a 9V battery, it means we want the resistor to take away 2,6V at 100mA to make our 6,4V.
( 9V - 2,6V = 6,4V )
R = U/ I = 2,6V / 100mA = 2,6/0,1 = 26 ohm
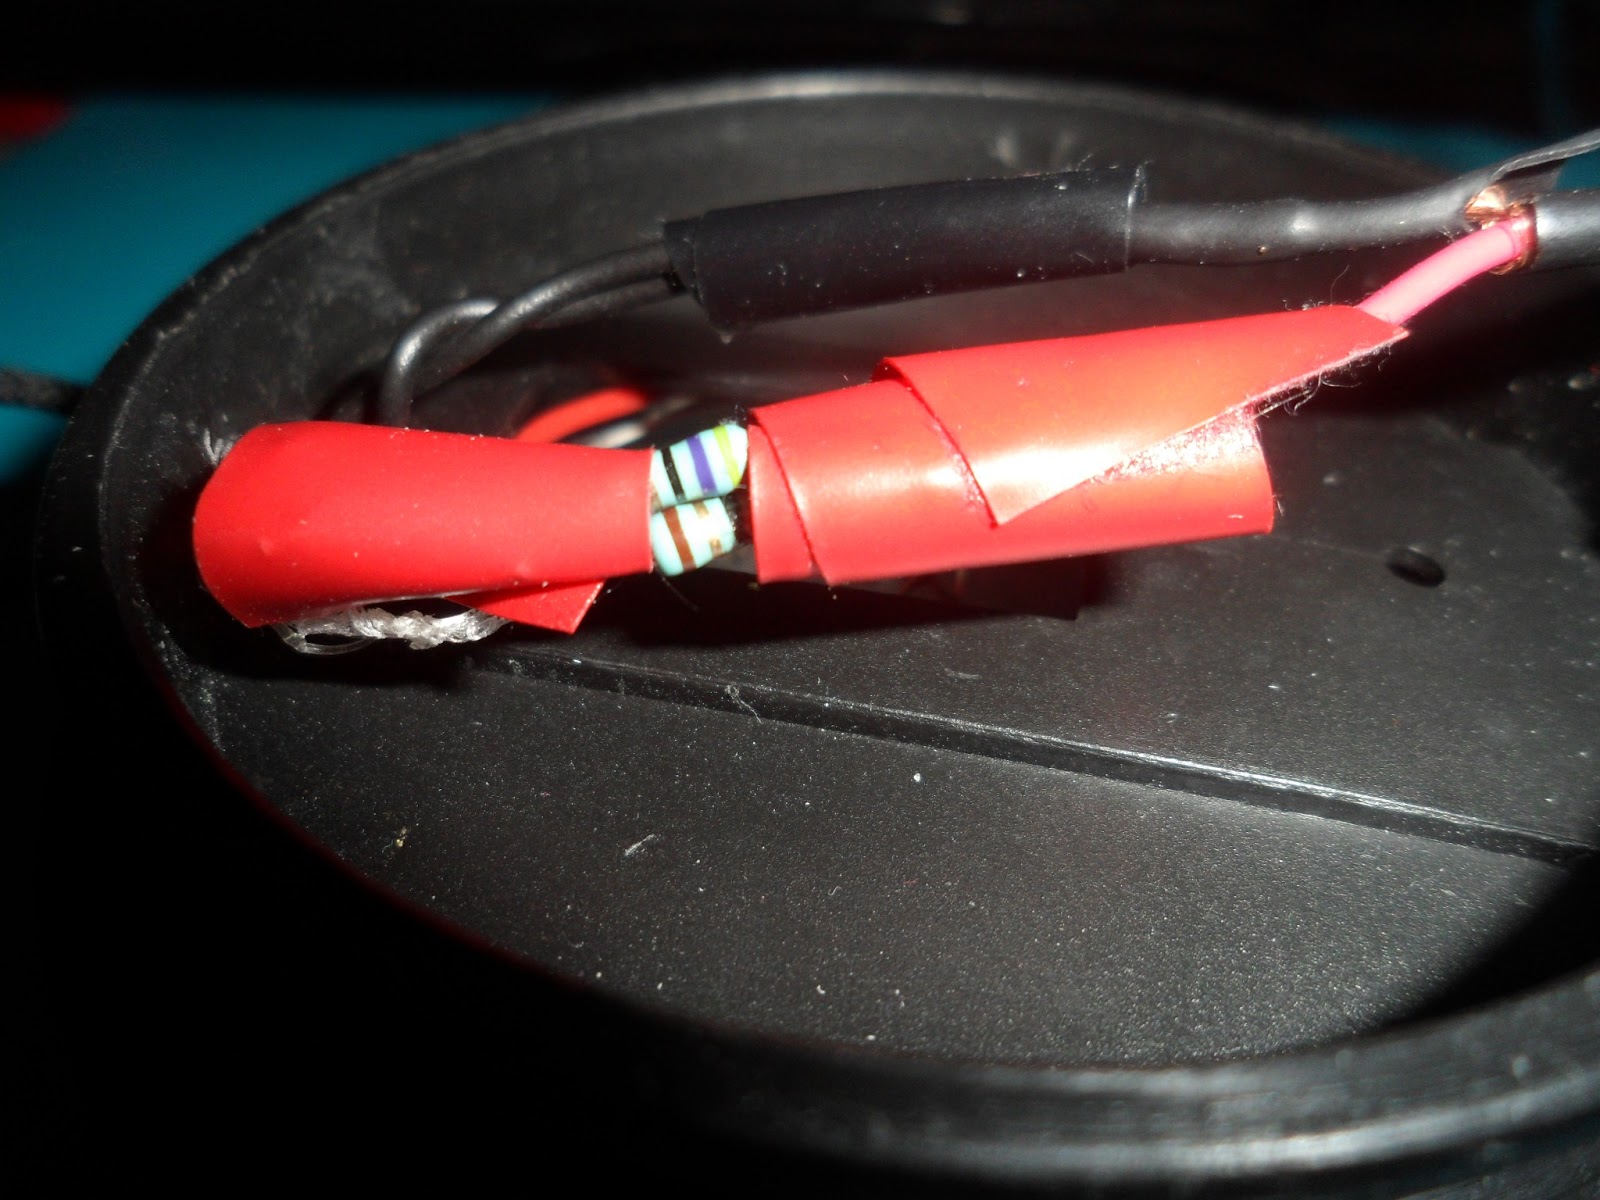
I used two resistors of 47 ohm in parallel, to get a total resistance of 24 ohm.
Place this in series with the battery and the LED ring as shown in the picture below.
-You can add switches etc. to your needs, I used a simple audio plug to power or unpower the arc reactor.
- Now glue the led ring in the thermos top using a hot glue gun.
- Print the center of an arc reactor on picture paper, sizing it to the format you want it, cut it out and glue it on the back of the small circle you made for the middle LED's . Fix it on the middle LED's.
- Glue some bolts between the LEDs to place the plastic ring on. And glue it on top.
And your arc reactor is finished! Enjoy! :D
If you want to wear it, you just drill a hole in the back and pull a necklace trough it, this will do the trick ;)


No comments:
Post a Comment